There are several ways to adopt infrastructure as code when using Azure. Azure Resource Manager (ARM) templates are the native way. One way to create an ARM template is to look at the ARM Template Quickstarts and copy bits and pieces. Another way is to use Visual Studio and create an Azure Resource Manager project. An obvious one, is to look at a past project and see what was done before. Lastly, there’s also Visual Studio Code where you can download extensions like this one and this one. But there’s one way, that I find extremely useful in many cases and saves me a ton of time in some cases.
Using the portal
There’s a crappy way of using the portal and a more productive way. Based on talking with other people, the most obvious and the most memorable seems to be the crappy way.
The crappy way
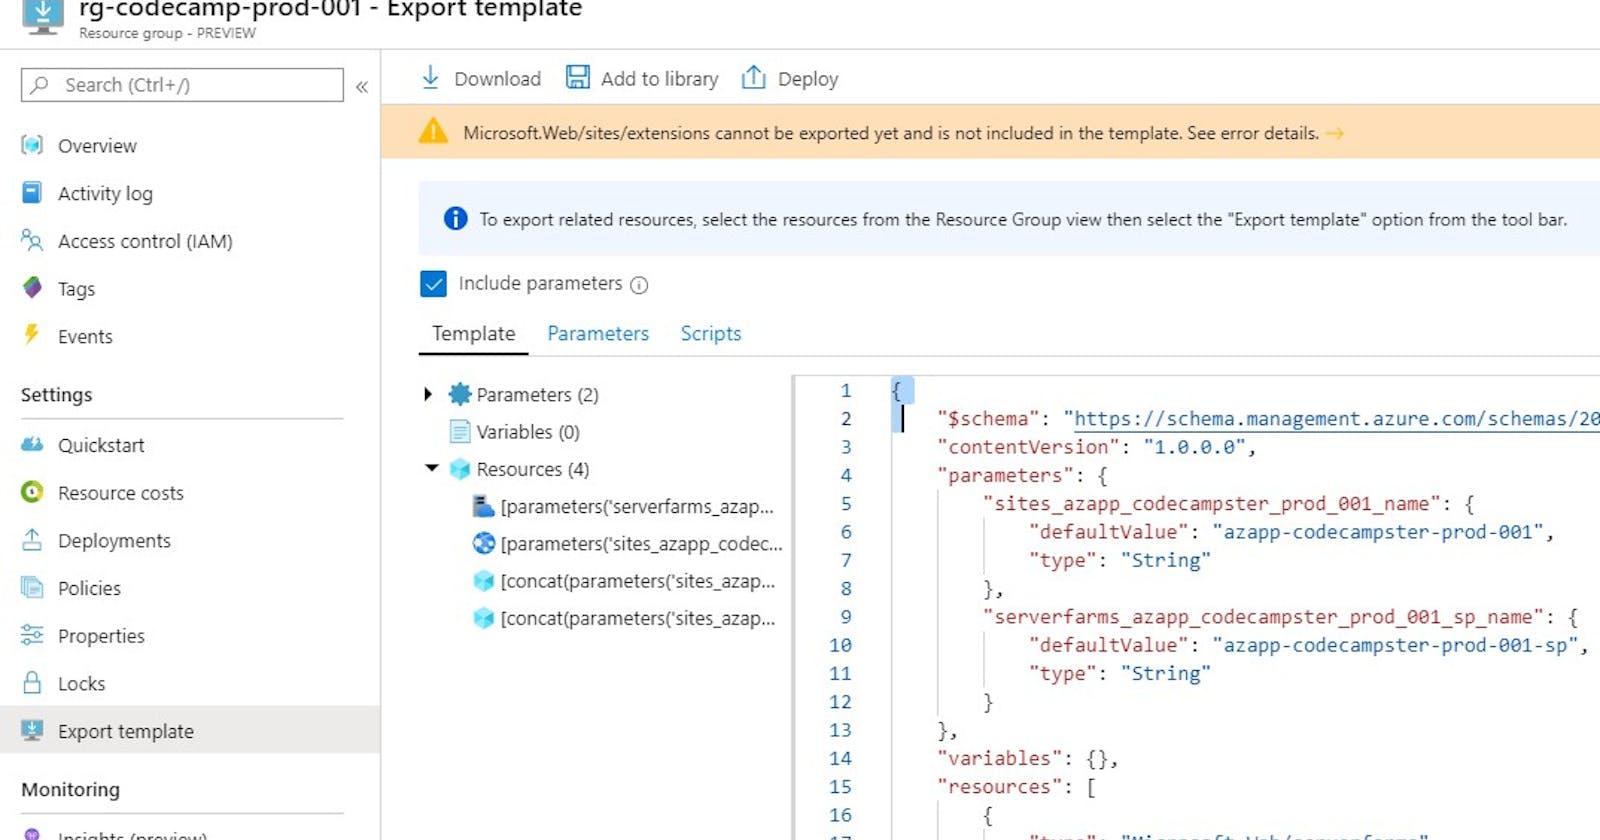
The crappy way is to look at a resource group and click on the “Export Template” blade. Here, Azure will generate the ARM template based on what has been deployed. The problem with this is that it’s most often extremely verbose. Azure tries to reverse engineer what is deployed and put it in terms of ARM schema. In the past, when I’ve tried using it, the more I strip out the things I don’t need, I end up breaking the template anyway and wasting time instead of saving it.

The better way
The better way is to go through the process to create a resource as you would from the portal and before you click “Create” from the confirmation window, you download the ARM template.

The way I understand it, the Azure portal sends ARM schema objects to the ARM API when you create resources. If this is the case, it’s the most accurate and consistent way to create resources just as the portal would create them. I have found this extra effective for creating resources that are not widely used or are still in preview. The ARM template produced is much cleaner and concise. The parameters also tend to mirror the answers that I provided from the wizard.

