


Recently I finished something I’ve been wanting to do for a long time: creating a Kubernetes cluster running on some Raspberry Pis. I mostly followed a recent post from Alex Ellis. So, this post will build on that and speak about my experience with the bill of materials, some kinks, and how to save some time.
Overview
I have a 4-node (1 master, 3 workers) Kubernetes cluster hosted on 4 Raspberry Pis 4 Model B with 4 GB of RAM. The nodes are running k3s - a lightweight distribution of Kubernetes for the edge. On my cluster, I am using the inlets project to expose some test web applications to the public internet without requiring public static IPs from my ISP.
The bill of materials
Here’s the list of things I bought. It all cost me $389.42.
- 1x wall-mountable power strip
- 4x patch ethernet cables
- 4x Raspberry Pis Model B w/ 4 GB RAM
- 4x power supplies for the Raspberry Pis
- 1x Raspberry Pi cluster case
- 4x Samsung SD cards
What’s the power strip for? I ran out of plugs in my old power strip. This one has 12 outlets and I could also mount it underneath my desk to hide most of the cables.
What I did not buy? An ethernet cable to connect the Pis to my network. I already had some. Also, I did not buy a switch, I already had one too. If you need one, something like this would work.
Why not using a USB charging hub? Alex Ellis recommended using the power supply. He mentioned there are several accounts of people experiencing their charging hubs to be “browning out.”
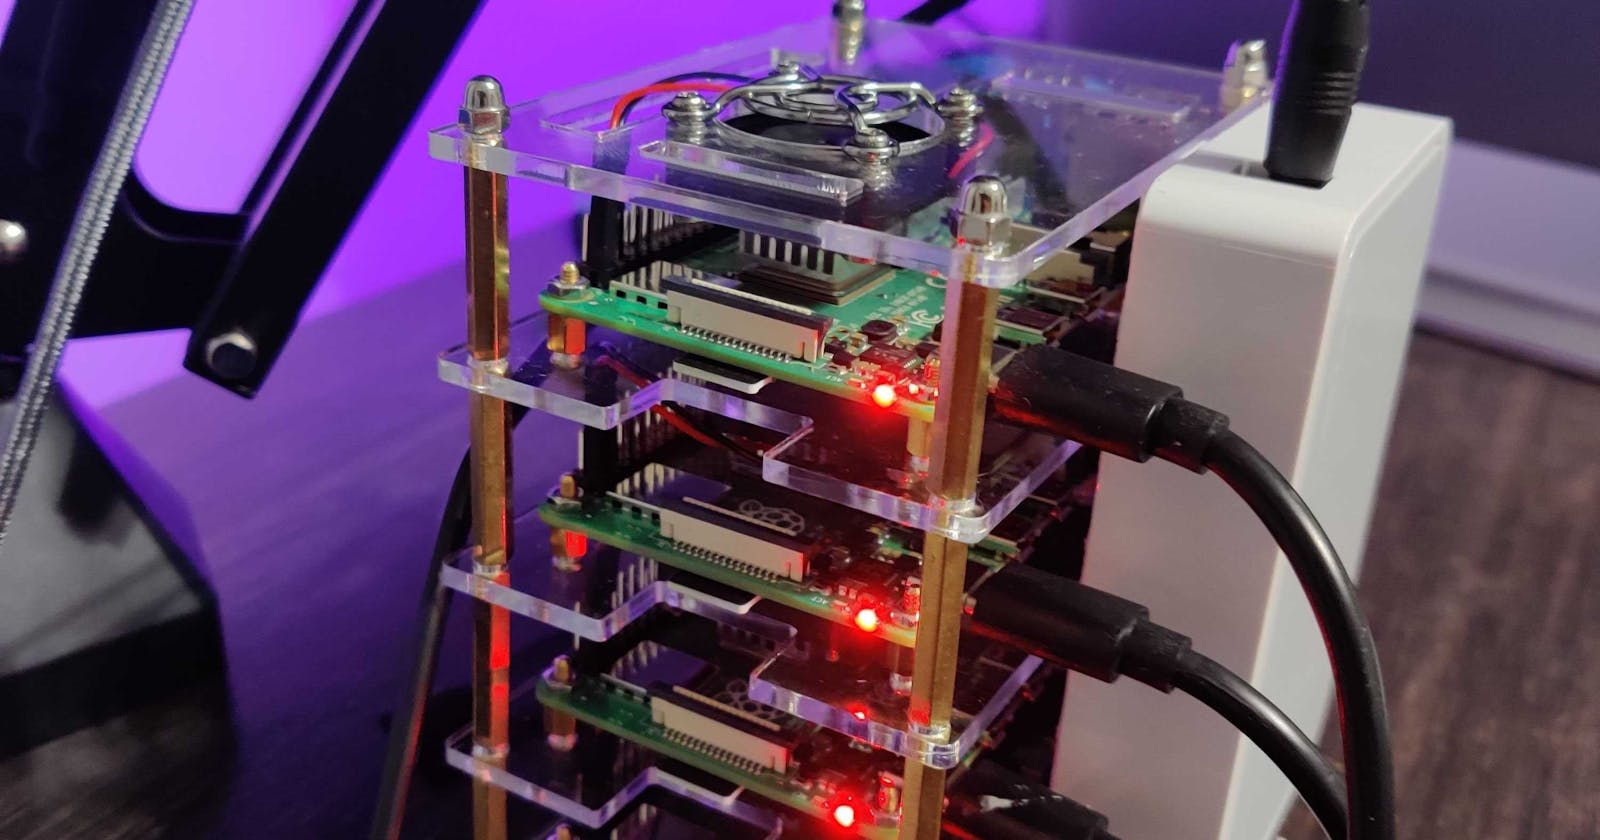
The assembly
It took me about 1.5 - 2 hours to put everything together. I stacked the Pis on the cluster case and tediously placed the fans. The fans are highly recommended and I configured them to be in quiet mode. They’re really quiet.
Then, I also spent significant time re-doing the wiring at my desk to have more outlets. This allowed me to have the cluster on my desk.
So plan accordingly and take your time.
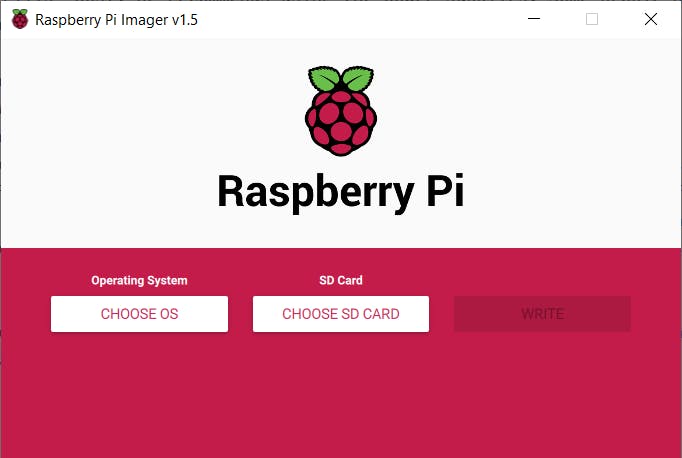
Flashing the SD cards
I flashed all the SD cards with Rasberry Pi OS Lite 32-bit. I used the Raspberry Pi Imager.

It was really easy. However, as each SD card was flashed, I would re-plug it. I would make the following two changes:
- Enabled SSH by creating an empty file in the
/bootdirectory calledssh. Read more here. - I modified the
cmdline.txtfile in the/bootdirectory. I appended thecgroup_memory=1 cgroup_enable=memorycommands . This is a requirement for k3s to run on Raspberry Pis.
Shaving the Yak
After each SD card was flashed and some of the pre-requisites were taken care of, it was time to do more even more prep work.
First, I booted up the Pis and observed that the blinky lights looked healthy. I then used nmap to find the private IPs for these new Pis.
nmap -sn 192.168.1.0/24
If they were working fine, the default hostname started with raspberry.
Then, I would SSH into each Pi and change the default password. I would also change the default hostname in /etc/hostname and the matching entry in the hosts file at /etc/hosts. I would also enable iptables since it’s another pre-requisite for k3s.
sudo iptables -F
sudo update-alternatives --set iptables /usr/sbin/iptables-legacy
sudo update-alternatives --set ip6tables /usr/sbin/ip6tables-legacy
sudo reboot
Once all the nodes rebooted, they had new hostnames and new DNS labels.

If you are OCD like me, you can make the pi-master DNS label/IP be the top pi of the stack, and each of the worker Pis can increment top to bottom. (i.e. from top to bottom of the stack: pi-master, pi-worker-1, pi-worker-2, and pi-worker-3).
Lastly, I would also copy my SSH key into each Pi via ssh-copy-id.
Installing k3s
I had limited success trying to install k3s through the official instructions. It was time-consuming and I had issues with the master node coming online. Unfortunately, I don’t recall the issues and I did not have enough time to look for the root cause of the issue (unhappy kids). I started over by re-flashing the SD cards and used the k3sup project by Alex Ellis.
Once k3sup was installed, then it was really simple to create a k3s server node. A server node is the Kubernetes master.
export MASTER="[your private ip of the master pi]"
k3sup install --ip $MASTER --user pi
After installation, I would ensure that the master was up and healthy by attempting a simple kubectl command. k3sup was also nice enough to place the Kubernetes config file into my working directory.
kubectl get nodes --kubeconfig k3s.yaml
After the master node was up, I moved on to the worker nodes.
k3sup join --ip 192.168.1.217 --server-ip $MASTER --user pi
k3sup join --ip 192.168.1.213 --server-ip $MASTER --user pi
k3sup join --ip 192.168.1.221 --server-ip $MASTER --user pi
Then, verified that they registered properly.

Installing inlets for ingress with a little Azure
I wanted to deploy something on my new cluster. But, there were a few gotchas with this. Typically, in a cloud environment, you’ll probably use a LoadBalancer service to expose to public IPs for your ingress controller to allow traffic into the cluster to direct it to some applications. In a home lab set-up, unless you buy public static IPs from your ISP, then you have dynamic public IPs that change outside your control. So, if you point your custom domain to the public IPs of your home router, then your custom domain might not work in the future. This is especially true if you wanted to take your Pis into the office or a presentation for a Meetup.
So there’s another open-source project, inlets, that essentially helps you create some cheap VMs on the cloud provider of choice, create/associate some public static IPs to those VMs, then install an agent on those VMs that talks to an operator running on your k8s cluster - effectively providing you with a public static IP for your cluster, securely.
To install inlets, the easiest way and the documented way is using arkade. To be honest, I don’t quite understand the value proposition of arkade. I haven’t found a strong use-case for it in the real world.
I had to log in to Azure and create an Azure service principal with the CLI. I saved the authentication info for the service principal into a temporary file outside of source control.
az login
az ad sp create-for-rbac --sdk-auth > /tmp/az_client_credentials.json

SUBSCRIPTION_ID=$(az account show | jq '.id' -r)
Then, create a Kubernetes cluster in your Pi cluster. It will contain the contents of the service principal authentication file.
kubectl create secret generic inlets-access-key --from-file=inlets-access-key=/tmp/az_client_credentials.json
Then, I installed “inlets” through “arkade”.
arkade install inlets-operator \
 --provider azure \
 --region eastus \
 --subscription-id=$SUBSCRIPTION_ID
Notice, how I used the Azure provider. The default inlets provider is Digital Ocean.
After a few minutes, I checked the status on the “traefik” ingress controller. Traefik comes installed by default with k3s.
kubectl get svc -n kube-system
There’s a traefik service in the kube-system namespace. This LoadBalancer service is used by the ingress controller. If everything worked fine, inlets should have provided a public IP to this service. Make note of it.

Deploying the test application
Once inlets was set-up, then I moved onto deploying a test application. One caveat with Raspberry Pi k8s clusters is the CPU architecture. Most Docker images support the default architectures of amd64. Raspberry Pis need the arm64 architecture; therefore, Docker images have to be built to target that architecture.
I won’t get into how to do this, but if you want to build your own Docker image that runs on Pis, then I found this blog post useful.
If you want, you can use the test application I created. The image is public on Docker Hub. Start by creating a test-application.yaml with the following contents:
apiVersion: apps/v1
kind: Deployment
metadata:
  name: realworld-deploy
  labels:
    app: realworld
spec:
  replicas: 1
  selector:
    matchLabels:
      app: realworld
  template:
    metadata:
      labels:
        app: realworld
    spec:
      containers:
      - name: realworld
        image: fgauna12/realworld-react:latest
        ports:
        - containerPort: 80
---
apiVersion: v1
kind: Service
metadata:
  labels:
    app: realworld
  name: realworld-svc
spec:
  type: ClusterIP
  ports:
  - port: 80
    protocol: TCP
    targetPort: 80
  selector:
    app: realworld
---
kind: Ingress
apiVersion: extensions/v1beta1
metadata:
  name: "realworld-ingress"
spec:
  rules:
    - host: pi.gaunacode.com
      http:
        paths:
          - path: /
            backend:
              serviceName: realworld-svc
              servicePort: 80
You’ll need a custom domain. Use that instead of mine in the Ingress.spec.rules[0].host portion.
Next, I create an A record to point to the traefik service’s public IP.
A record on pi.gaunacode.com -> [Azure Public IP created by inlets and used by Traefik service]
Once you created the A record, you’re ready to deploy the test app.
kubectl apply -f test-application.yaml
In a few minutes, I had my app running on my cluster and available on the internet! It will be addressable at the root domain without https. In my case, http://pi.gaunacode.com.
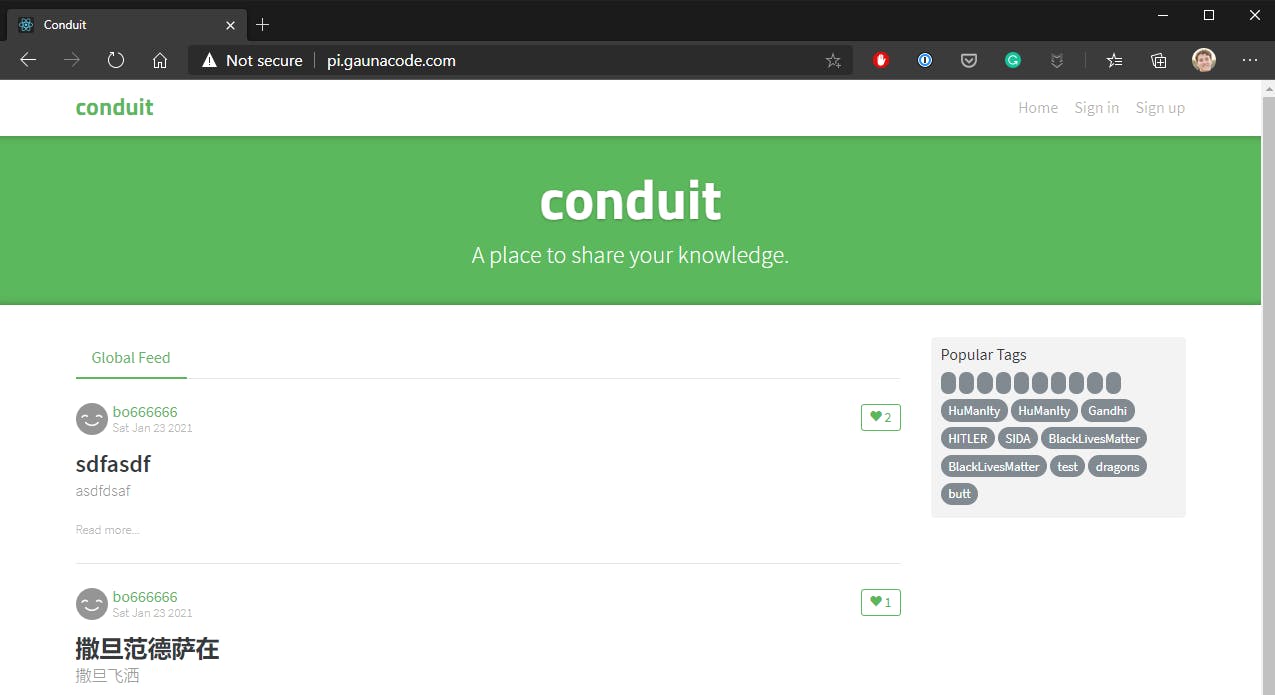
This example app is a dockerized version of this React front-end. It’s simply a static website driven by data from an API hosted by someone else.
Hope that helped. Don’t hesitate to reach out if you need help. Happy hacking.