AKS Best Practice: Backing up AKS with Velero

I used to be a .NET developer. Nowaways, I am a DevOps solutions architect with a focus on Azure and Kubernetes.
I also love productivity topics, especially when it comes to doing more with less of my time. I'm also a daddy, so time is a limited resource for me.
Backing up AKS clusters is really important. Even if you’re using Infrastructure as Code and all deployments are automated, you will benefit from taking backups of AKS clusters. It’s also stated as a best-practice by Microsoft.
Why?
Mean Time To Recover (MTTR)
You might have everything automated. From the cluster creation to the applications being deployed on the cluster. But, in my experience, this automation can take a long time. For example, it took me 45 minutes for all pipelines to deploy each of ~15 microservices to a cluster.
During a disaster, recreating new infrastructure and re-deploying all components can take time. Depending on the criticality of the incident and the importance of the app, it can feel like an eternity.
By using a tool like Velero to backup all Kubernetes resources, a cluster can be quickly restored to a certain state, lessening recovery time from ~45 minutes to ~15 minutes.
Avoiding Data Loss
If you have stateful applications deployed on your clusters, you will likely use persistent volumes to store data. For example, running a database on Kubernetes. So, tools like Velero can also help backup the data in persistent volumes as well.
Velero
Velero is an open source tool that helps backup and restore Kubernetes resources. It also helps with migrating Kubernetes resources from one cluster to another. Also, it can help backup/restore data in persistent volumes.
How it will work
Velero will have a pod running on the cluster, taking backups against an Azure Storage account (Although you can use other backends). You can take ad-hoc backups or create a schedule for them. But to do so, it has to be able to authenticate against the Azure API with enough permissions to be able to write to the storage account.
Velero has a CLI and a server side component to it. Either way, you’re going to have to install the CLI.
The CLI
Here are the basic steps on how to install the CLI on MacOs, Windows, or Linux.
The Server Side
For the server side component, there’s two main methods of installation:
- The Velero CLI
- A Helm Chart
Installing Velero
I prefer to use the Helm chart so that I can install Velero from a GitOps workflow. You can see the official instructions on the Helm chart’s readme These instructions below will be a little different so that it’s easier to automate.
Velero uses an Azure Plugin to interact with Azure. To authenticate, use Service Principals for now. Usually, I prefer using Azure Active Directory Pod Identities but there’s an open issue with Managed Identities. It’s a project that allows pods to authenticate against Azure using Managed Identities. In other words, by using pod identities (managed identities), you won’t need an API secret for Velero to authenticate against Azure. Remember though, managed identities only work on Azure.
The Credentials
Start by getting the resource group where the virtual machines for your AKS cluster. Velero will need permissions to this.
AZURE_RESOURCE_GROUP=$(az aks show -n mycluster -g myresourcegroup --query "nodeResourceGroup" -o tsv)
Then, get the Azure subscription and Azure AD tenant information.
AZURE_SUBSCRIPTION_ID=$(az account list --query '[?isDefault].id' -o tsv)
AZURE_TENANT_ID=$(az account list --query '[?isDefault].tenantId' -o tsv)
Now create an Azure service principal for Velero to authenticate. I like to name the service principal with the name of the cluster so that I know which Velero identity belongs to which cluster.
Note: you can also limit the scope of the service principal to certain resource groups --scopes so that it doesn’t have access to the entire subscription.
AZURE_CLIENT_SECRET=$(az ad sp create-for-rbac --name "mycluster-velero" --role "Contributor" --query 'password' -o tsv)
Almost there… now, get the Client Id for the service principal just created.
AZURE_CLIENT_ID=$(az ad sp list --display-name "mycluster-velero" --query '[0].appId' -o tsv)
Create a file called credentials-velero. Do not commit this to source control.
cat << EOF  > ./credentials-velero
AZURE_SUBSCRIPTION_ID=${AZURE_SUBSCRIPTION_ID}
AZURE_TENANT_ID=${AZURE_TENANT_ID}
AZURE_CLIENT_ID=${AZURE_CLIENT_ID}
AZURE_CLIENT_SECRET=${AZURE_CLIENT_SECRET}
AZURE_RESOURCE_GROUP=${AZURE_RESOURCE_GROUP}
AZURE_CLOUD_NAME=AzurePublicCloud
EOF
Using kubectl, upload the credentials to a kubernetes secret in a new velero namespace.
kubectl create ns velero
kubectl create secret generic velero-credentials -n velero --from-literal="cloud=$(cat ./credentials-velero)"
The Storage Account
First, create a storage account, this will store the backups.
STORAGE_ACCOUNT='stmyapptest001'
STORAGE_RESOURCE_GROUP='rg-myapp-test-001'
az storage account create -n $STORAGE_ACCOUNT -g $STORAGE_RESOURCE_GROUP
Then, create the container to place the backups. I also like to name the container name after the cluster.
STORAGE_CONTAINER_NAME='backups-mycluster'
az storage container create --account-name $STORAGE_ACCOUNT -n $STORAGE_CONTAINER_NAME
Putting it all together
Now, we install Velero using Helm and using Velero’s Azure plugin.
First, add the VMware Tanzu Helm repo.
helm repo add vmware-tanzu https://vmware-tanzu.github.io/helm-charts
Lastly, install the helm chart.
helm install velero vmware-tanzu/velero --namespace velero --version 2.13.2 \
--set "initContainers[0].image=velero/velero-plugin-for-microsoft-azure:v1.1.0" \
--set "initContainers[0].imagePullPolicy=IfNotPresent" \
--set "initContainers[0].volumeMounts[0].mountPath=/target" \
--set "initContainers[0].volumeMounts[0].name=plugins" \
--set "initContainers[0].name=velero-plugin-for-azure" \
--set credentials.existingSecret='velero-credentials' \
--set configuration.provider='azure' \
--set configuration.backupStorageLocation.bucket=$STORAGE_CONTAINER_NAME \
--set configuration.backupStorageLocation.config.resourceGroup=$STORAGE_RESOURCE_GROUP \
--set configuration.backupStorageLocation.config.storageAccount=$STORAGE_ACCOUNT \
--set configuration.backupStorageLocation.config.subscriptionId=$AZURE_SUBSCRIPTION_ID \
--set configuration.volumeSnapshotLocation.name='azure-eastus' \
--set configuration.volumeSnapshotLocation.config.resourceGroup=$STORAGE_RESOURCE_GROUP \
--set configuration.volumeSnapshotLocation.config.subscriptionId=$AZURE_SUBSCRIPTION_ID
You should see Velero’s pods come up.
kubectl get pods -n velero
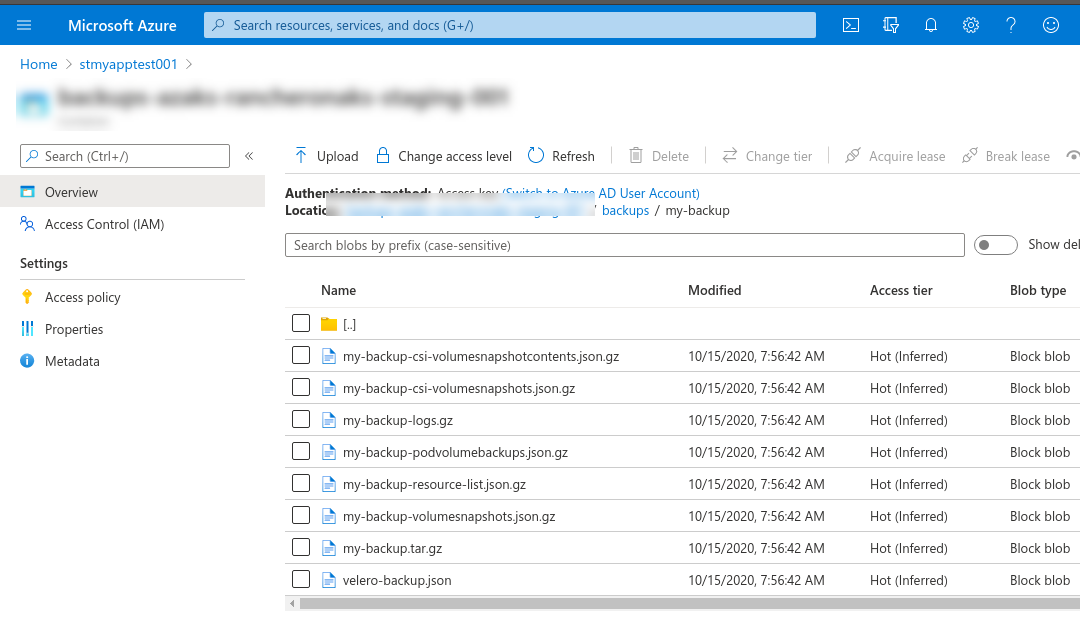
Testing the backup
Assuming you installed Velero’s CLI, you can simply create a test backup.
velero backup create my-backup

velero backup logs my-backup
Note: you might run into this issue. If so, then you have to exclude the admission webhook configuration when creating the backup.
velero backup create my-backup --exclude-resources MutatingWebhookConfiguration.admissionregistration.k8s.io
``

If it works, you can go ahead and create a schedule.

#### Setting up the schedule

"Back up my cluster every day at 7 am"

```bash
velero schedule create every-day-at-7 --schedule "0 7 * * *"
Note: again, you might run into this issue and if so then you’ll have to exclude the webhook admission configuration.
velero schedule create every-day-at-7 --schedule "0 7 * * *" --exclude-resources MutatingWebhookConfiguration.admissionregistration.k8s.io
That’s it!